How to Prep Your Vehicle for Rustproofing
Rustproofing is one of the best investments you can make to protect your vehicle’s longevity and maintain its value. At Dinitrol UK, we’re proud to offer industry leading rust protection products trusted by professionals and enthusiasts alike. But before applying any rustproofing treatment, proper preparation is key to ensuring maximum effectiveness.
Here’s a step-by-step guide to prepping your vehicle with essential cleaning and drying tips to get the best results from your Dinitrol rustproofing application:
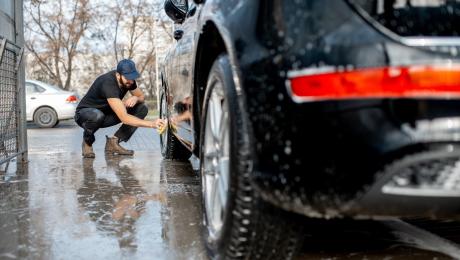
1. Steam Clean or Ice Blast
Start by thoroughly cleaning the underside of your vehicle using steam cleaning or ice blasting. Some of our treatment centres prefer alternate cleaning methods, but all methods effectively remove dirt, grease, salt, and contaminants from every nook and cranny, especially hard-to-reach areas like the undercarriage and wheel arches. This step is vital for ensuring a clean surface for rustproofing.
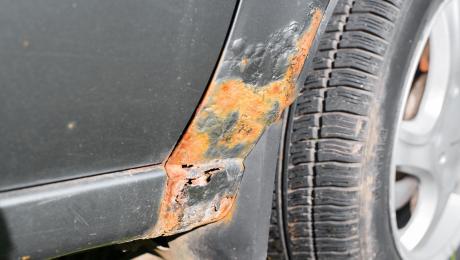
2. Remove Existing Rust with a Wire Wheel / Wool
Next, inspect for any existing rust spots on the surface metal. The best way to use this is using tools such as a wire wheels, wire wool, or sandpaper to carefully remove surface and loose rust, creating a clean, smooth surface. This prevents rust from continuing to spread beneath your protective coating.
3. Dry Completely
Once cleaned and rust removed, make sure your vehicle is completely dry. Use compressed air to blow moisture out of cavities, seams, and hard-to-reach spots or leave the vehicle overnight. Moisture left behind can cause corrosion beneath the protection.
4. Mask It Up
Before reaching the final step of applying rustproofing treatment to the underbody, masking is essential to protect areas that shouldn’t come into contact with the product. Carefully cover components such as brake lines, exhaust parts, electrical wiring, and suspension elements using high quality masking tape and protective coverings. This prevents unwanted buildup or damage to sensitive parts while ensuring the rustproofing treatment is applied precisely where it’s needed. Proper masking not only helps achieve a neat, professional finish but also safeguards critical vehicle systems during the application process.
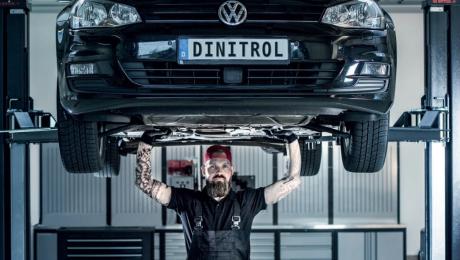
4. Apply Dinitrol RC900 and Let It Cure
Now your vehicle is ready for application. Coat with Dinitrol RC900 rust converter and primer. Allow the product to cure properly to create a strong, rust-inhibiting base layer. After curing, you’re now all set for the final rustproofing steps to protect your vehicle for years to come.

Thorough preparation is key to achieving effective rustproofing. By following these essential steps, you’ll ensure your vehicle stays protected and maintains its appearance for years to come. For expert advice and information on Dinitrol products, don’t hesitate to get in touch with us today.